In a previous tutorial you have created your OneSignal Account and App ID for your new application, and in the mean time you have received your application from us.
In this tutorial we will show you step by step how to send a push notification to your subscribers with OneSignal.
First, log in to your OneSignal Account. You can access the login page by clicking this link: https://dashboard.onesignal.com/login
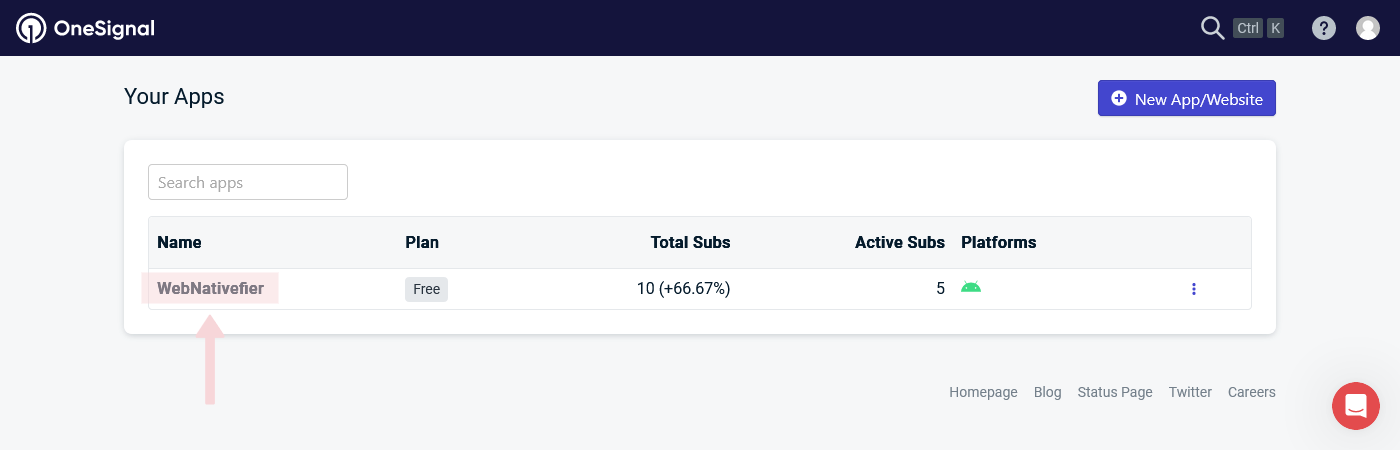
Once you log in, you'll see a screen similar to the one below. Click on your app name to open your app's dashboard.
If you are shown the quick start guide, you can close it by pressing the X in the top right corner of the pop-up, or press "Complete later" at the bottom.
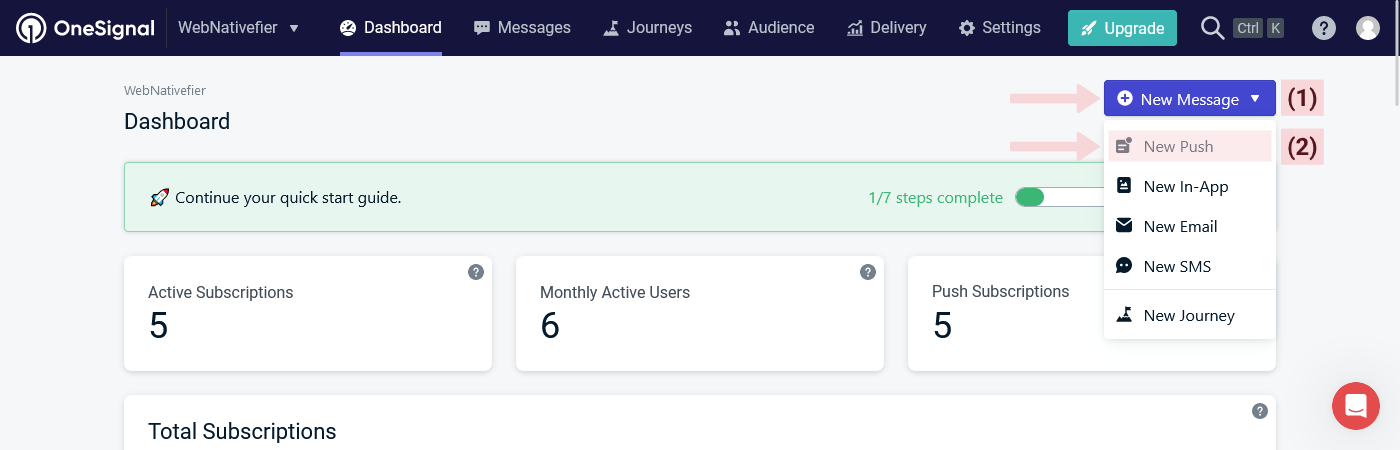
On the "Dashboard" screen you can see how many active subscribers you have as well as some other stats. Make sure you have at least 1 active push subscriber before proceeding with this tutorial.
First press the New Message (1) button at the top-right, then press New Push (2).
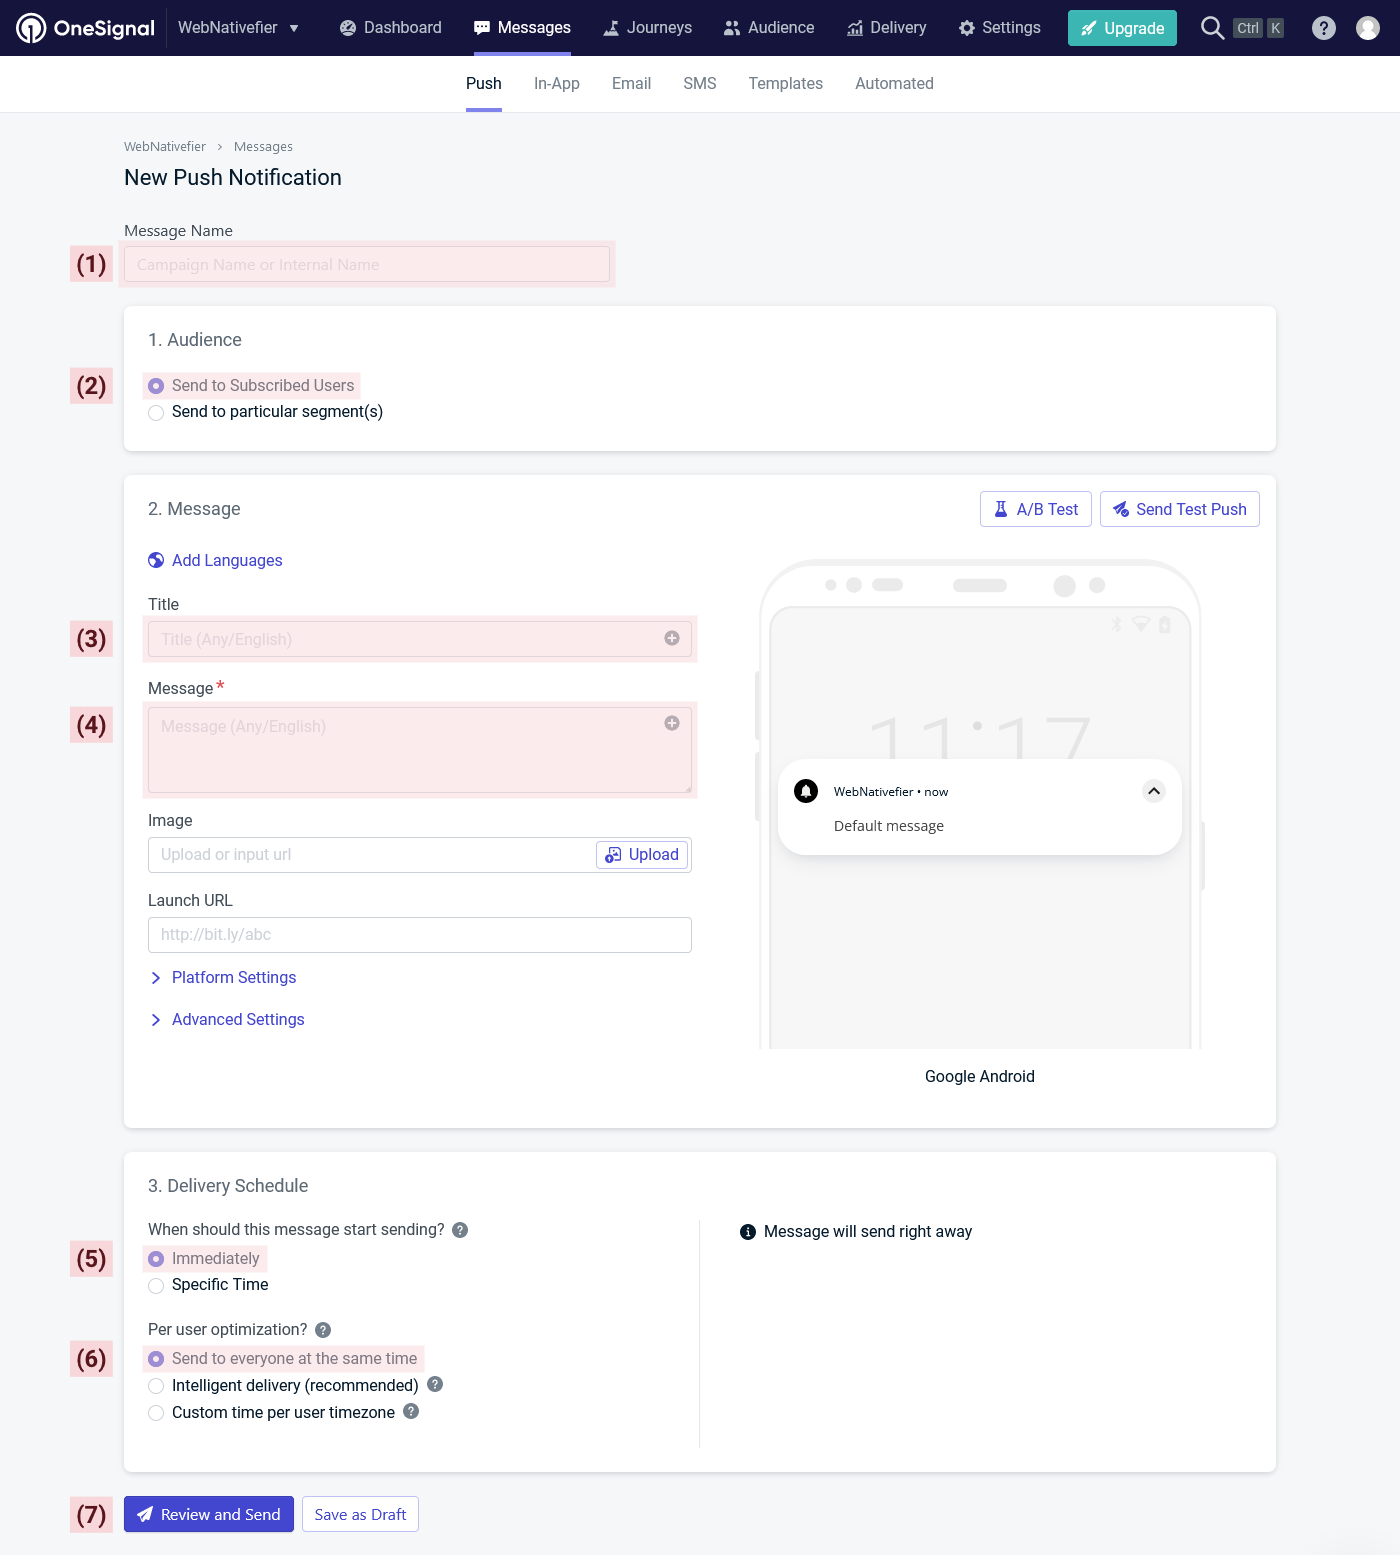
On the next screen, you will be creating your new push notification.
You'll need to enter the following details:
- Enter the Message Name (1), which is a name used internally on OneSignal and is not displayed to your users
- Select Send to Subscribed Users (2), to send the notification to everyone that is subscribed.
- Enter the Title (3) for the push notification that will be displayed to your users.
- Enter the Message (4) for the push notification that will be displayed to your users.
- If you want you may enter a Launch URL that should open when a users clicks the notification. If you leave this field empty, it will open your app's Start URL by default.
- Select Immediately (5) to send out the push notification immediately after you press send.
- Select Send to everyone at the same time (6), to send it directly when you press send, otherwise there might be some delay to it. However, if you have hundreds or thousands of subscribers, you should select Intelligent delivery, which is the recommended option.
Finally press the button Review and Send (7) button, to open the review pop-up.
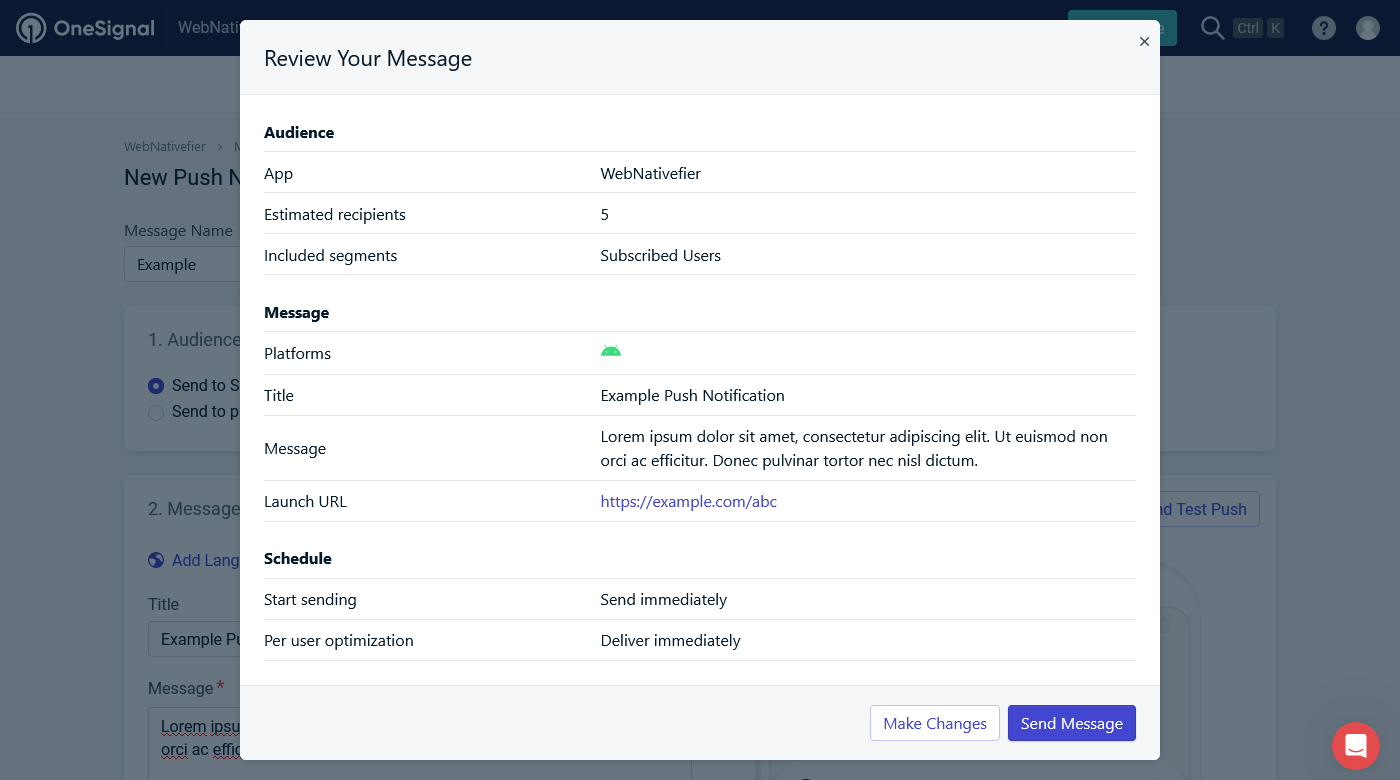
Now a pop-up will open, where you can review all data that you have entered in the previous step.
After you make sure that everything is correct, just press the button Send at the bottom to send the push notification to all your subscribers.
That's all. If you have your app installed on your phone and notifications are enabled, you should now receive the push notification as well.
If you have any questions, do not hesitate to contact us at support@webnativefier.com, we usually reply within 24 hours.