With the OneSignal Push Notifications add-on you will be able to send unlimited push notifications, to unlimited subscribers, for free!
In this tutorial we will show you step by step how to get your OneSignal App ID for your new android application.
This tutorial is made using data from the following page: https://documentation.onesignal.com/docs/generate-firebase-credentials
Requirements
Before starting this tutorial, you need to create two accounts:
- Google Account, which you probably already have.
- OneSignal Account, that you can create for free.
OneSignal Setup
Open the following tutorial provided by OneSignal, and follow the steps below: https://documentation.onesignal.com/docs/generate-firebase-credentials
- Create A Firebase Project
- Ensure Firebase Cloud Messaging API (V1) is Enabled
- Generate a Private Key JSON file
- Configure Your OneSignal App's Android Platform Settings
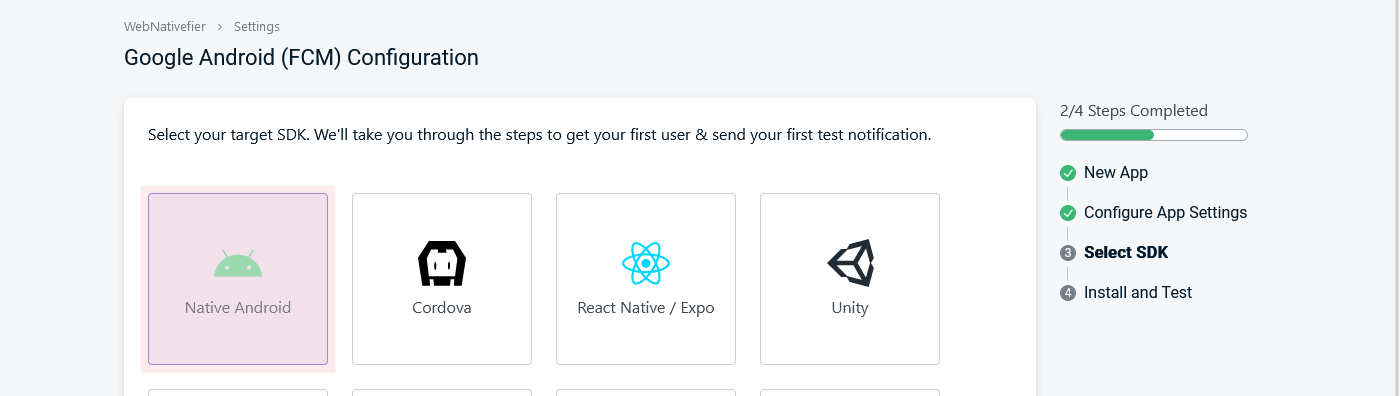
During step 4. you'll be asked to "Select the SDK you are using for your app development". Please select "Native Android" SDK and press "Save & Continue".
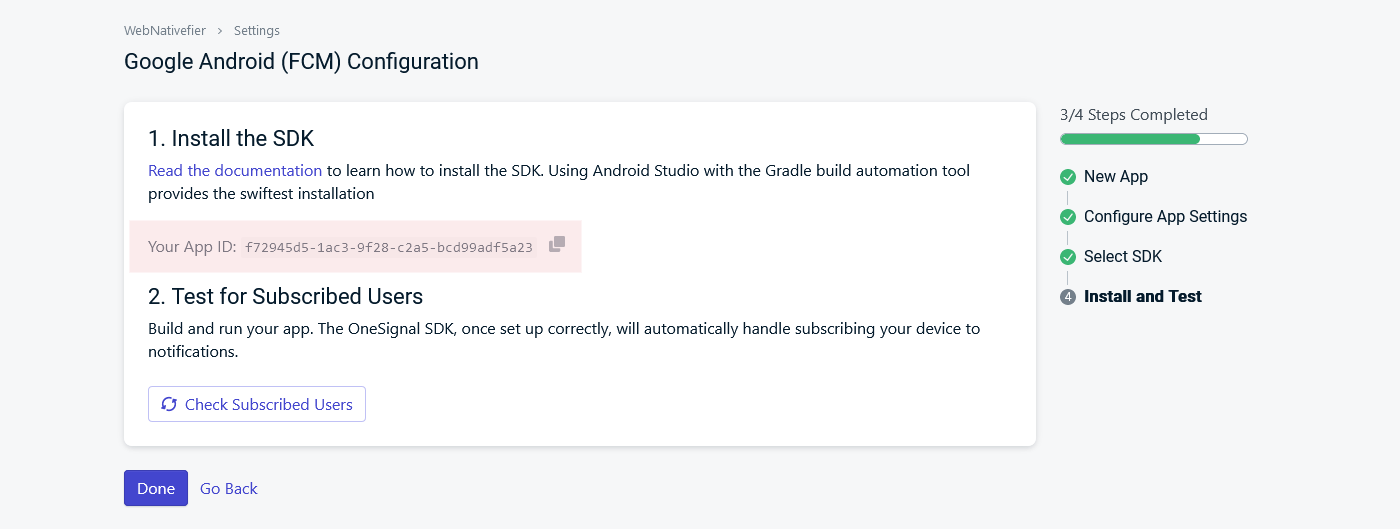
Finally, at the end of step 4, you'll have get your OneSignal App ID, as displayed on the following image.
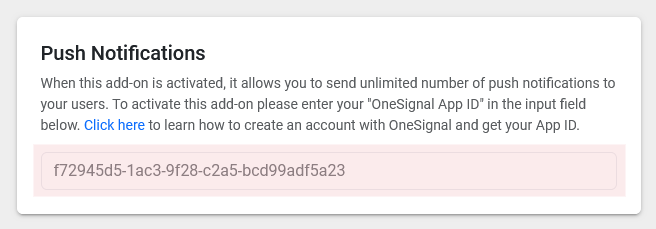
Enter your OneSignal App ID in the configurator
Finally, copy the "OneSignal App ID" that you just received and enter it in the Push Notifications "ONESIGNAL_APP_ID" field in the WebNativefier App Configurator.
That's all, you can now continue in the configurator. Once you get your app, you will be able to send unlimited push notifications, to unlimited subscribers, for free!
If you have any questions, do not hesitate to contact us at support@webnativefier.com, we usually reply within 24 hours.